What you’ll need:
- glanspapir (glazed paper) of two different colours
- en saks (a pair of scissors)
- en lineal (a ruler)
- en blyant (a pencil)
Now, let’s begin:
1
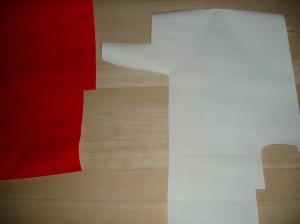 Pick two sheets of glazed paper in different colours. Red and white is the classical combo. (As in the Danish flag!)
2
 Fold each sheet once along a straight line. Let the coloured (front) side turn inward!
3
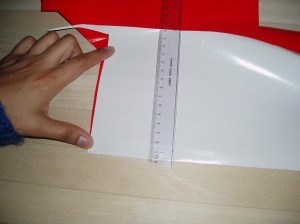 Draw a square with the fold as one of its sides. It is only necessary to do this on one of the folded sheets. To make it easy I suggest a square of, say, 6 × 6 cm.
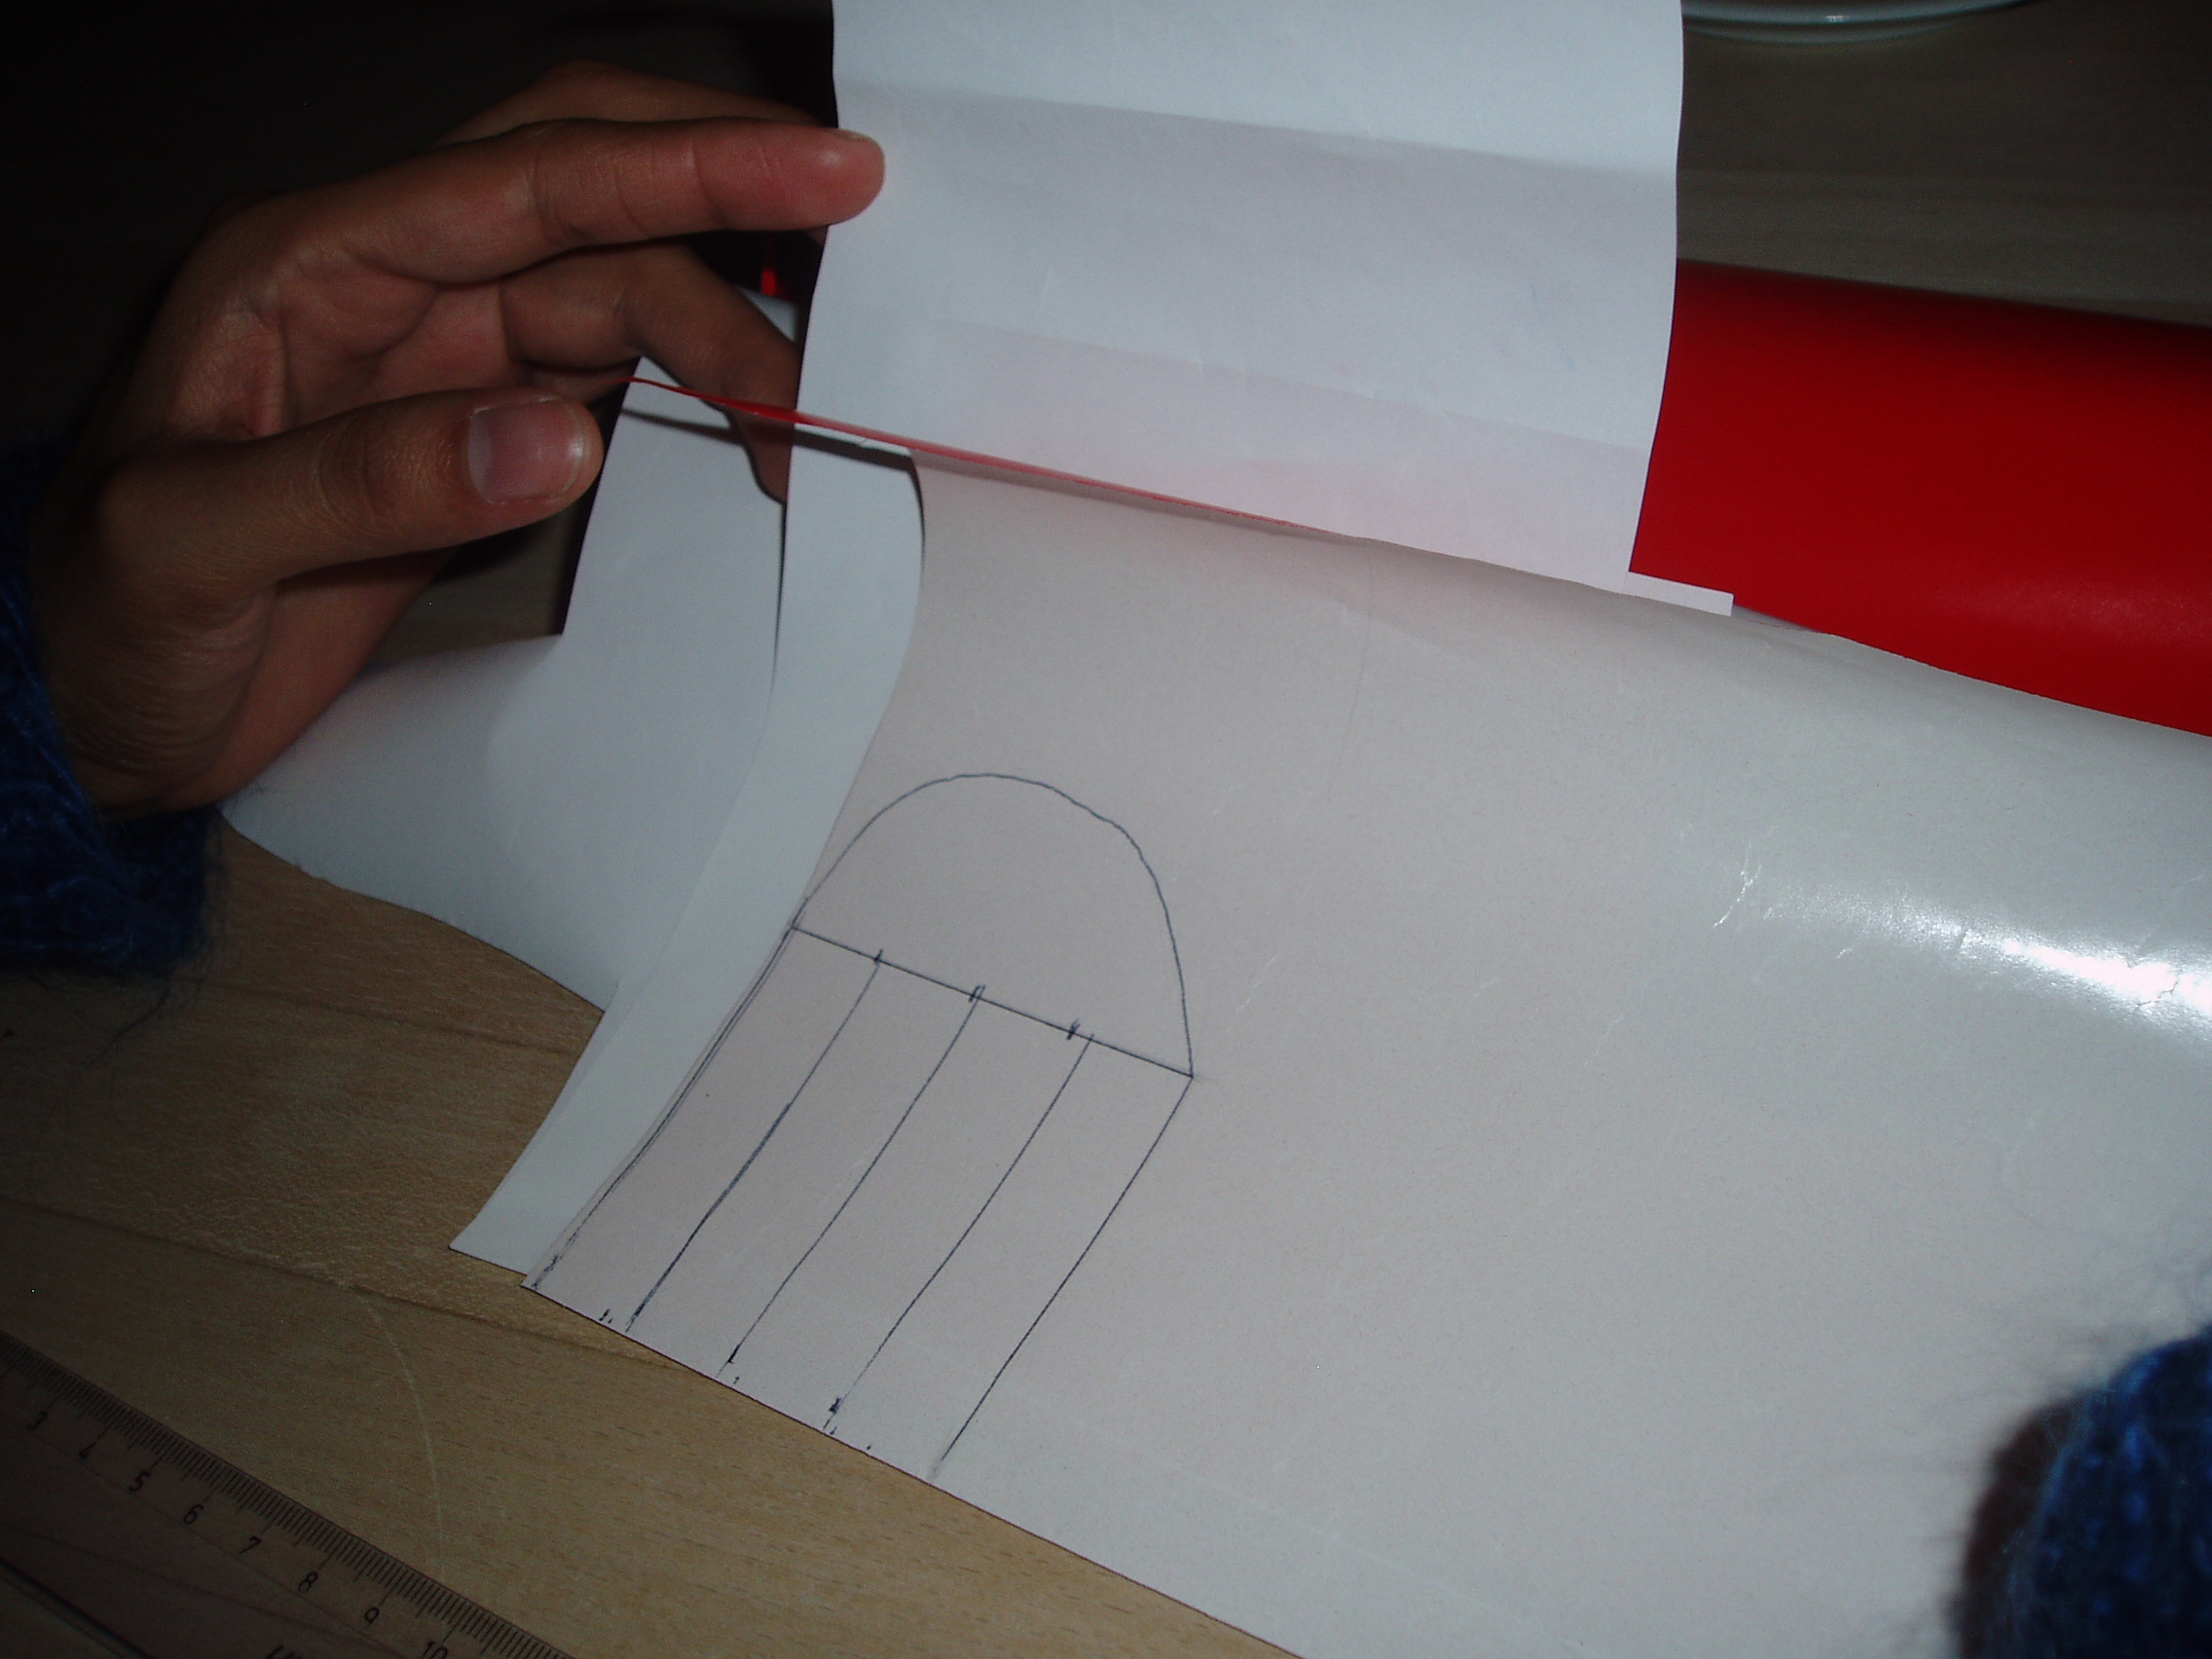
4
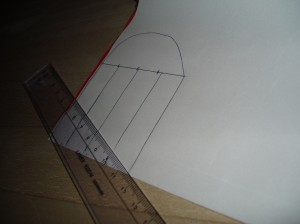 Add an arch to the end that is opposite of the fold. Delineate a number of strips between the bottom of the arch and the fold. A small number, like 3 or 4 strips, is preferable.
5
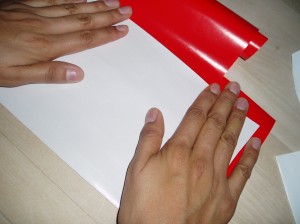
 Put the second sheet into the sheet you drew on. The two folds must touch.
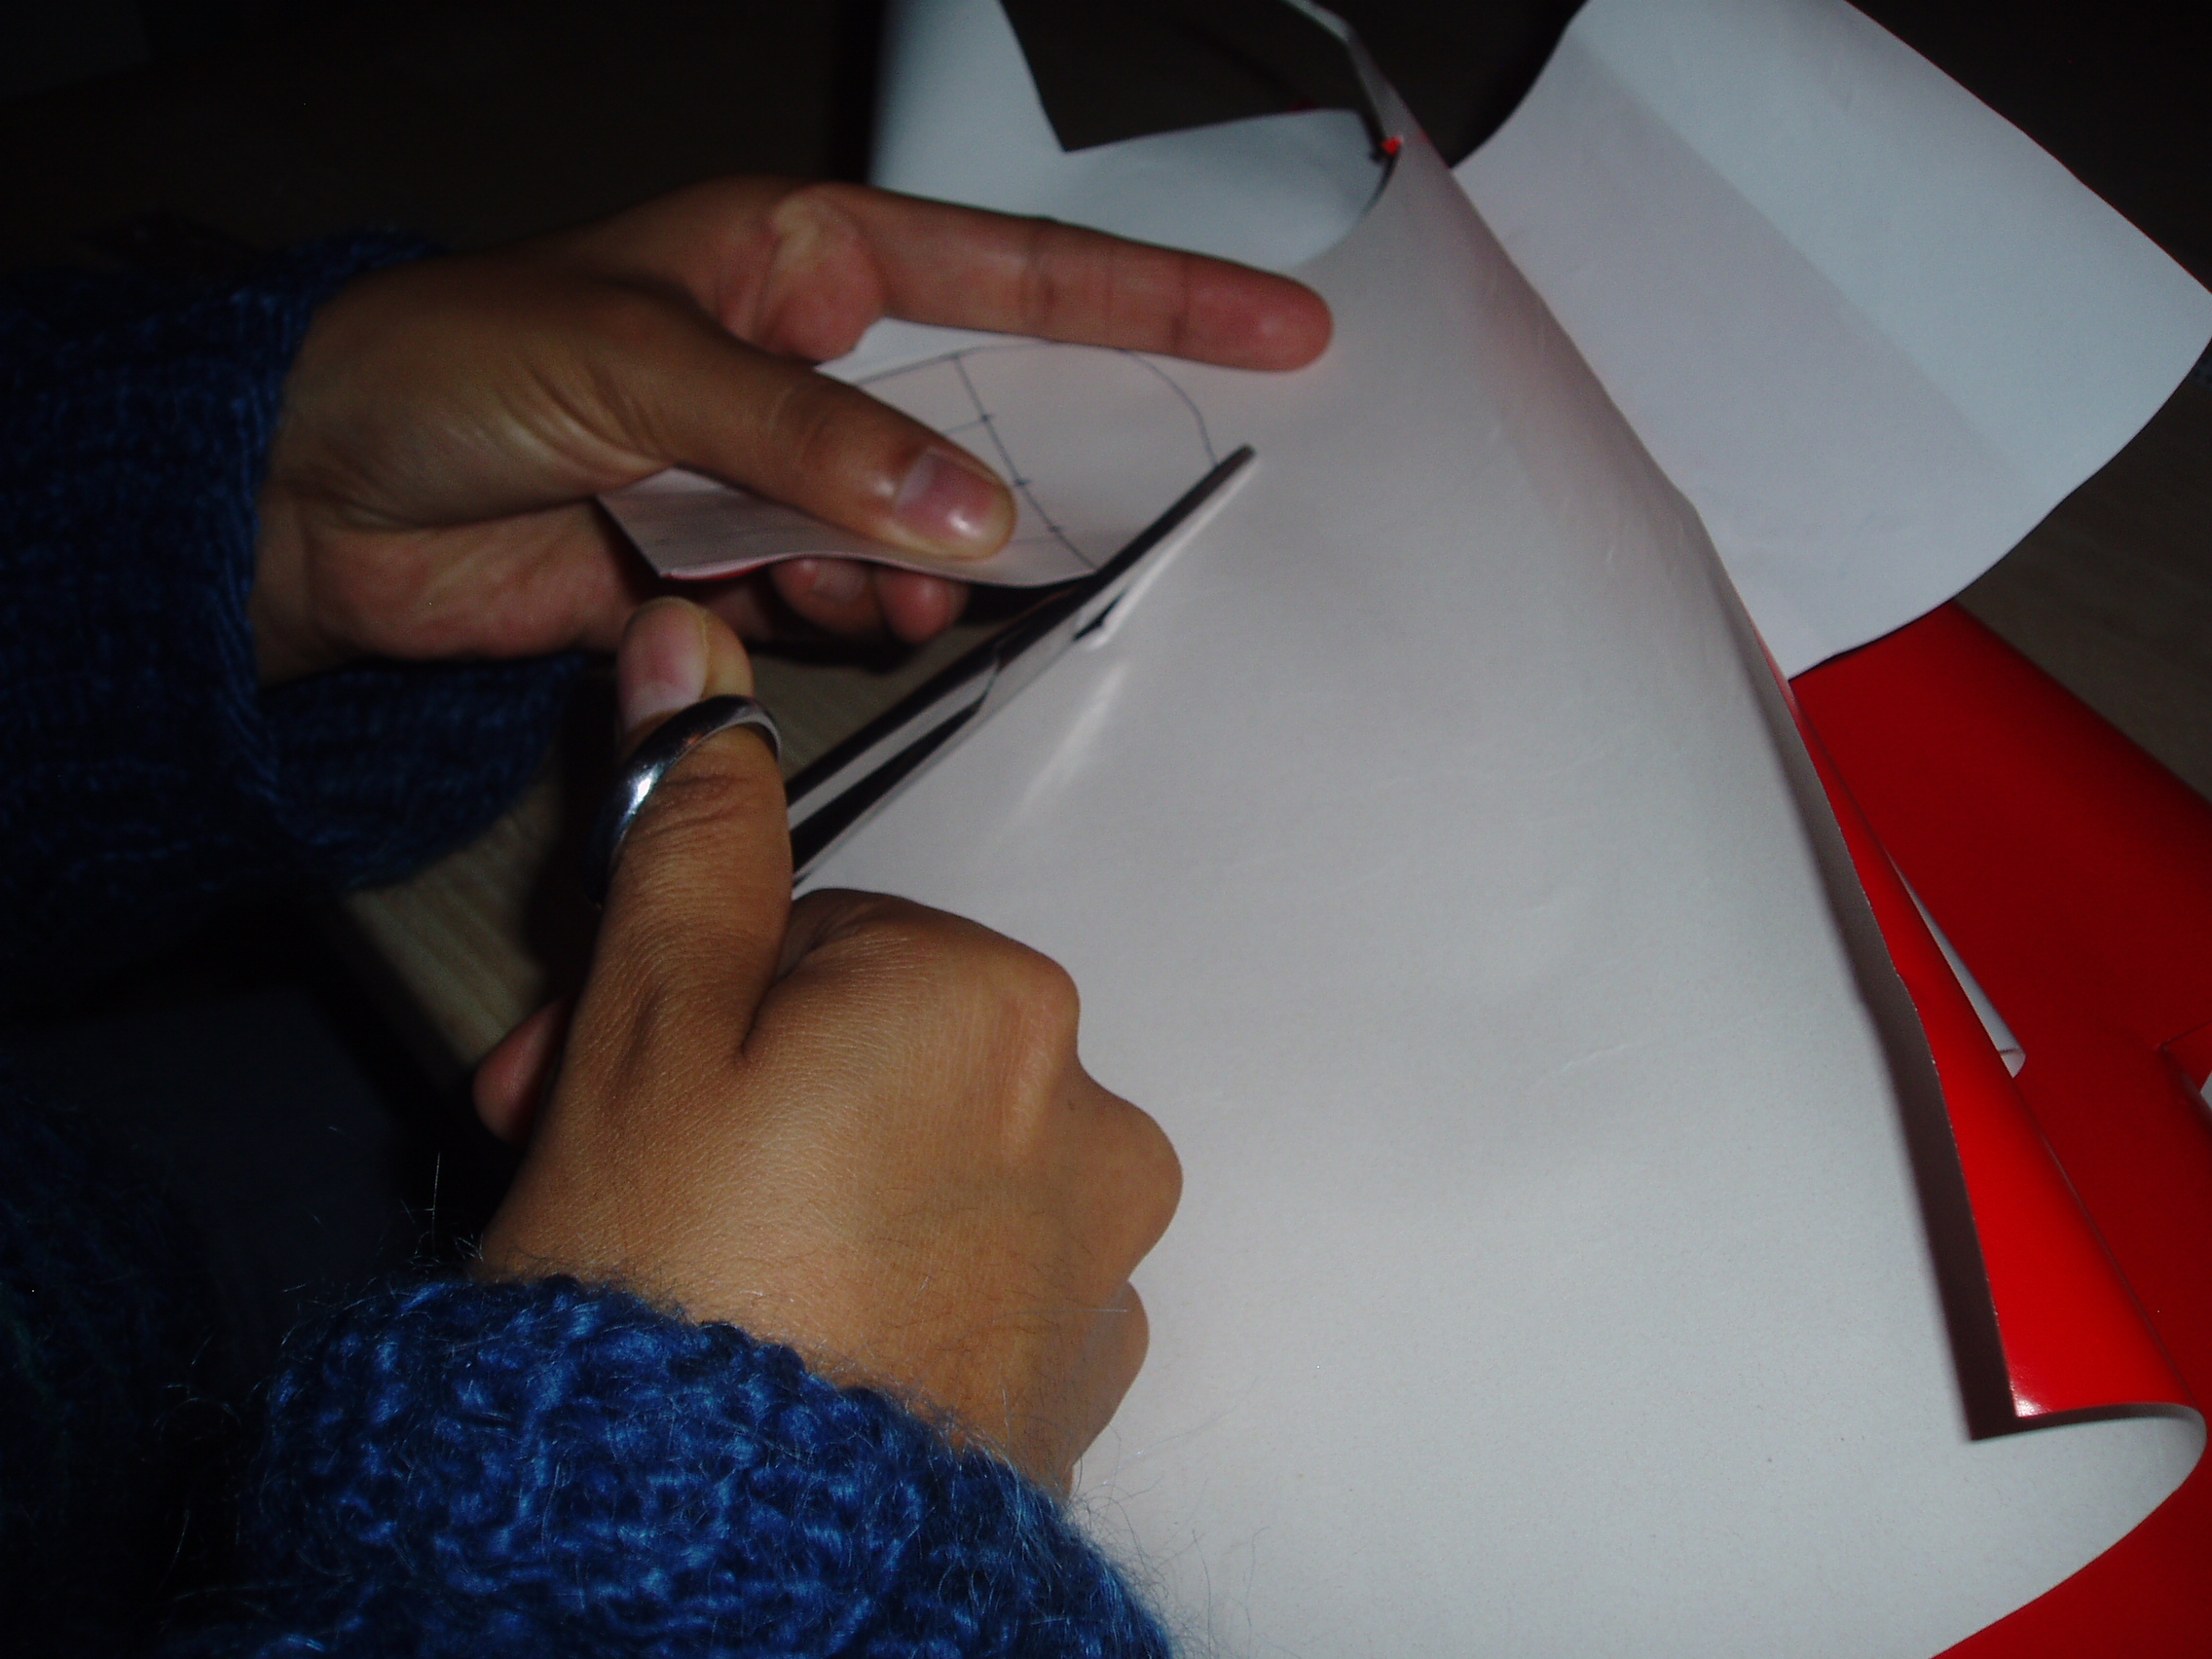
6
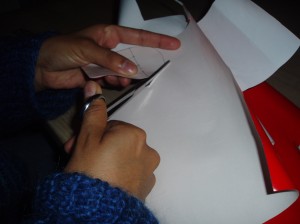 Cut out the two halves of your Christmas heart-to-be. Take care so that the two folds always touch. (If not, the shape from the second sheet will diverge too much and ruin your work!)
7
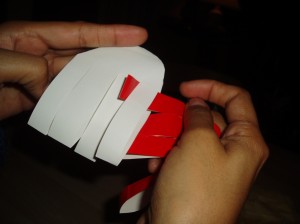
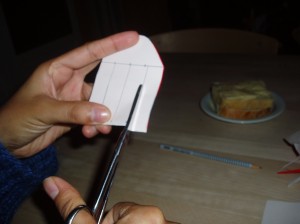 Use your scissors to separate the strips from each other. It is a good idea to extend the cuts 1.5 mm into the arch area. That will give you more room for braiding.
8
Turn the coloured side out again.
9
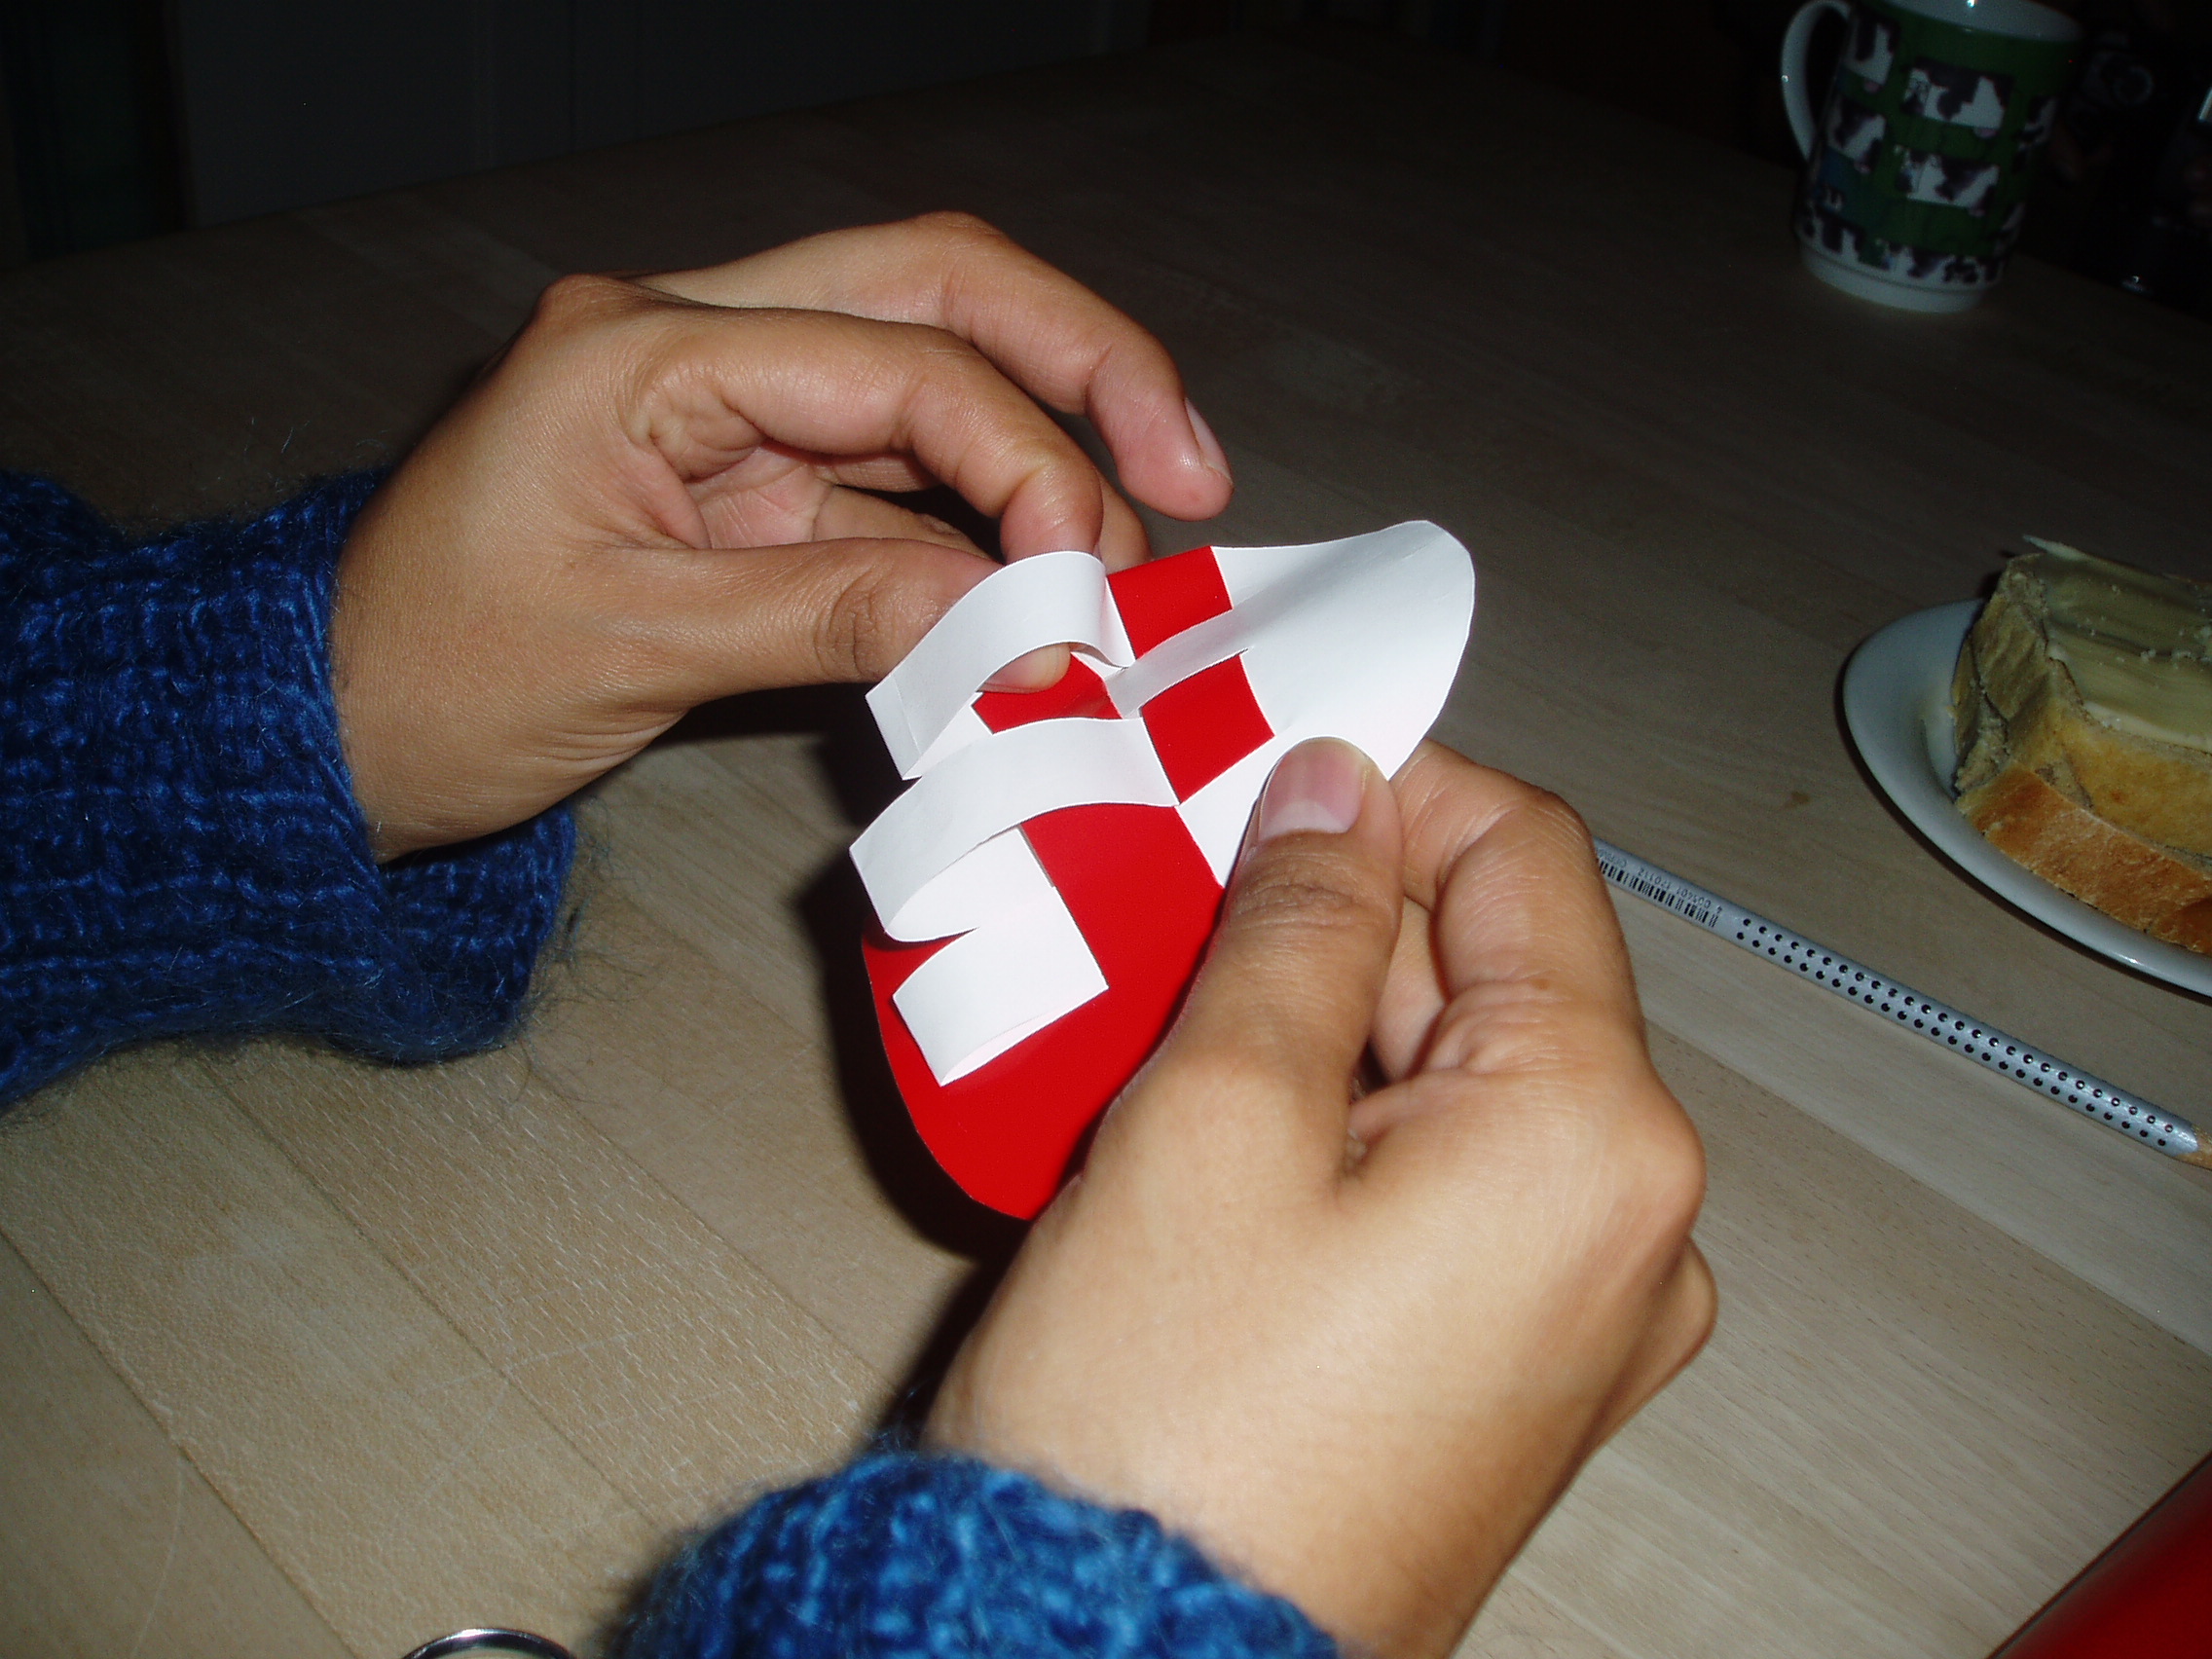
 Braid the heart:
- Take the uppermost red strip.
- Push it through the first white strip.
- Pull the second white strip through the red strip.
- Push the red strip through the third white strip.
- Pull the fourth white strip through the red strip.
- Make sure the whole red strip is pulled as ”far North” as possible (in the direction of the arch).
- Continue with the second red strip, but this time it should start surrounding the white strip.
In short: repeat the pattern ”red through white, white through red” until the heart is finished. Remember to check that the heart looks the same on both sides!
The last strip can be difficult, and you may have to ”wrinkle” the other strips a bit in order to make space for it. You may also assist yourself by a needle or a pair of tweezers.
10
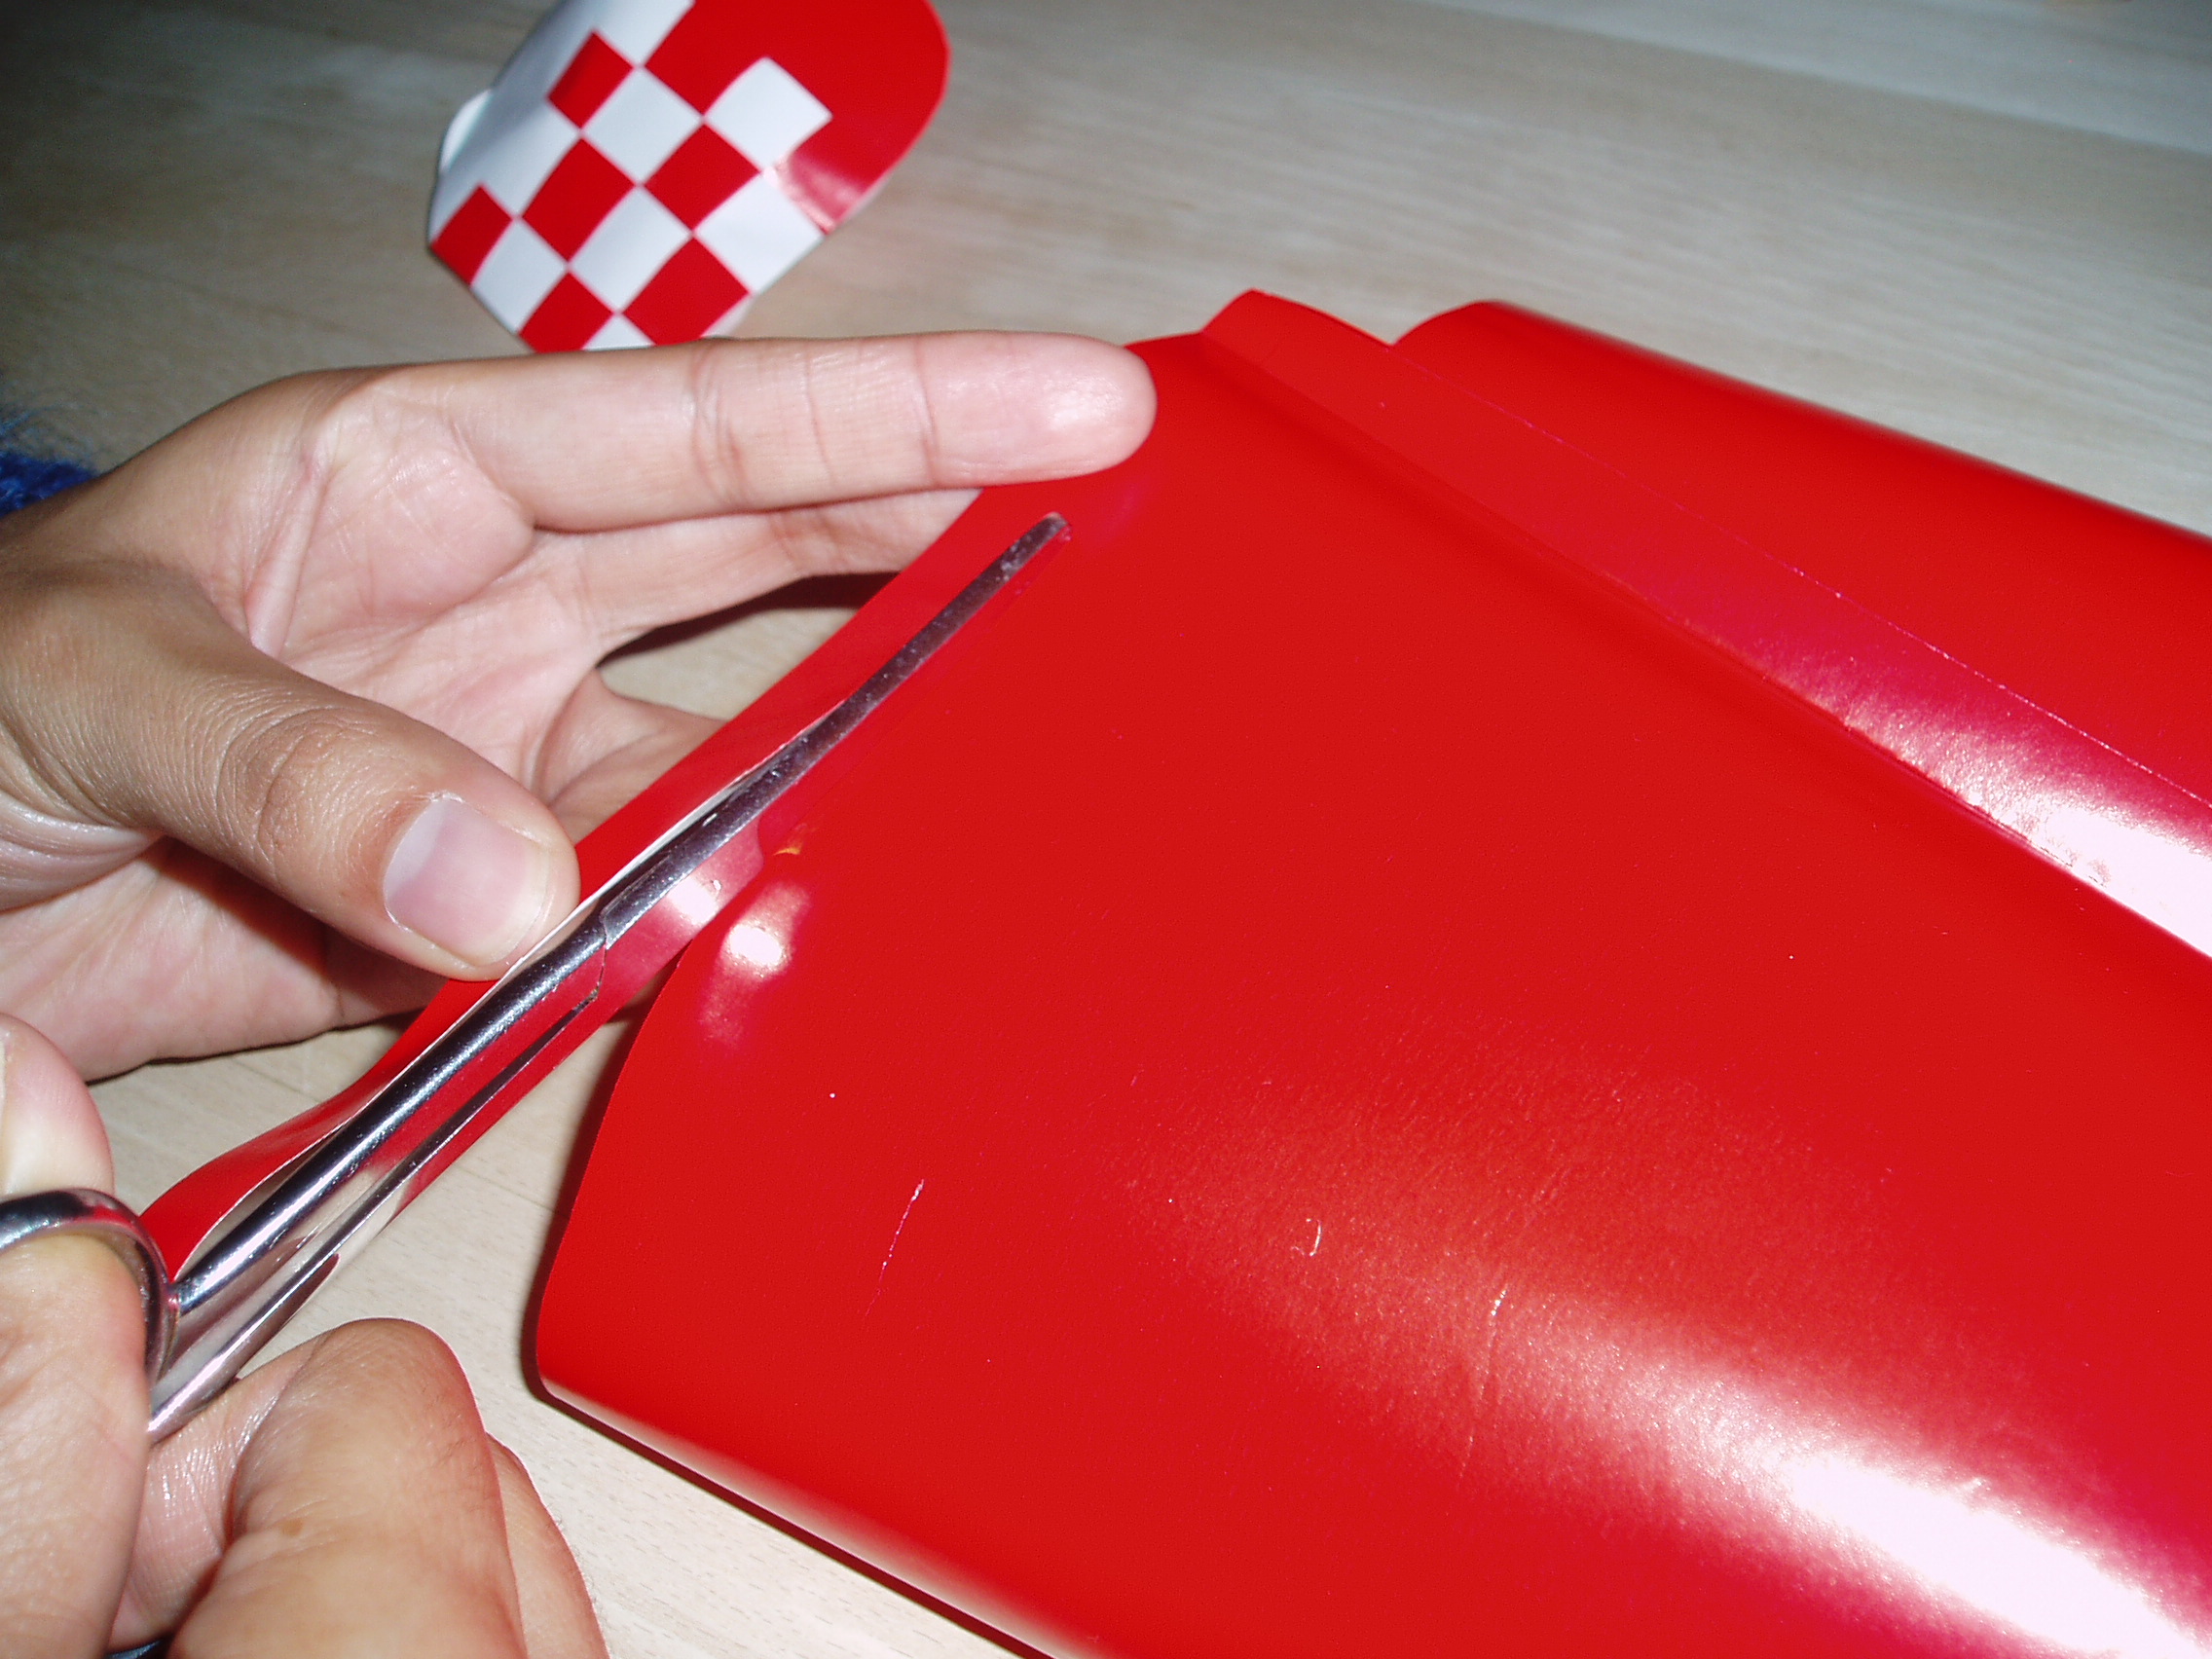
 Fold some of the remaining paper once and cut out a strip.
11
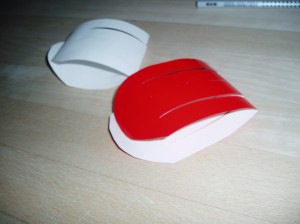
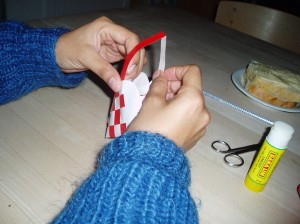 Fasten the hank (handle) to the heart’s interior with a limstift (glue stick). Make sure that you don’t glue the heart itself together! 😉
12

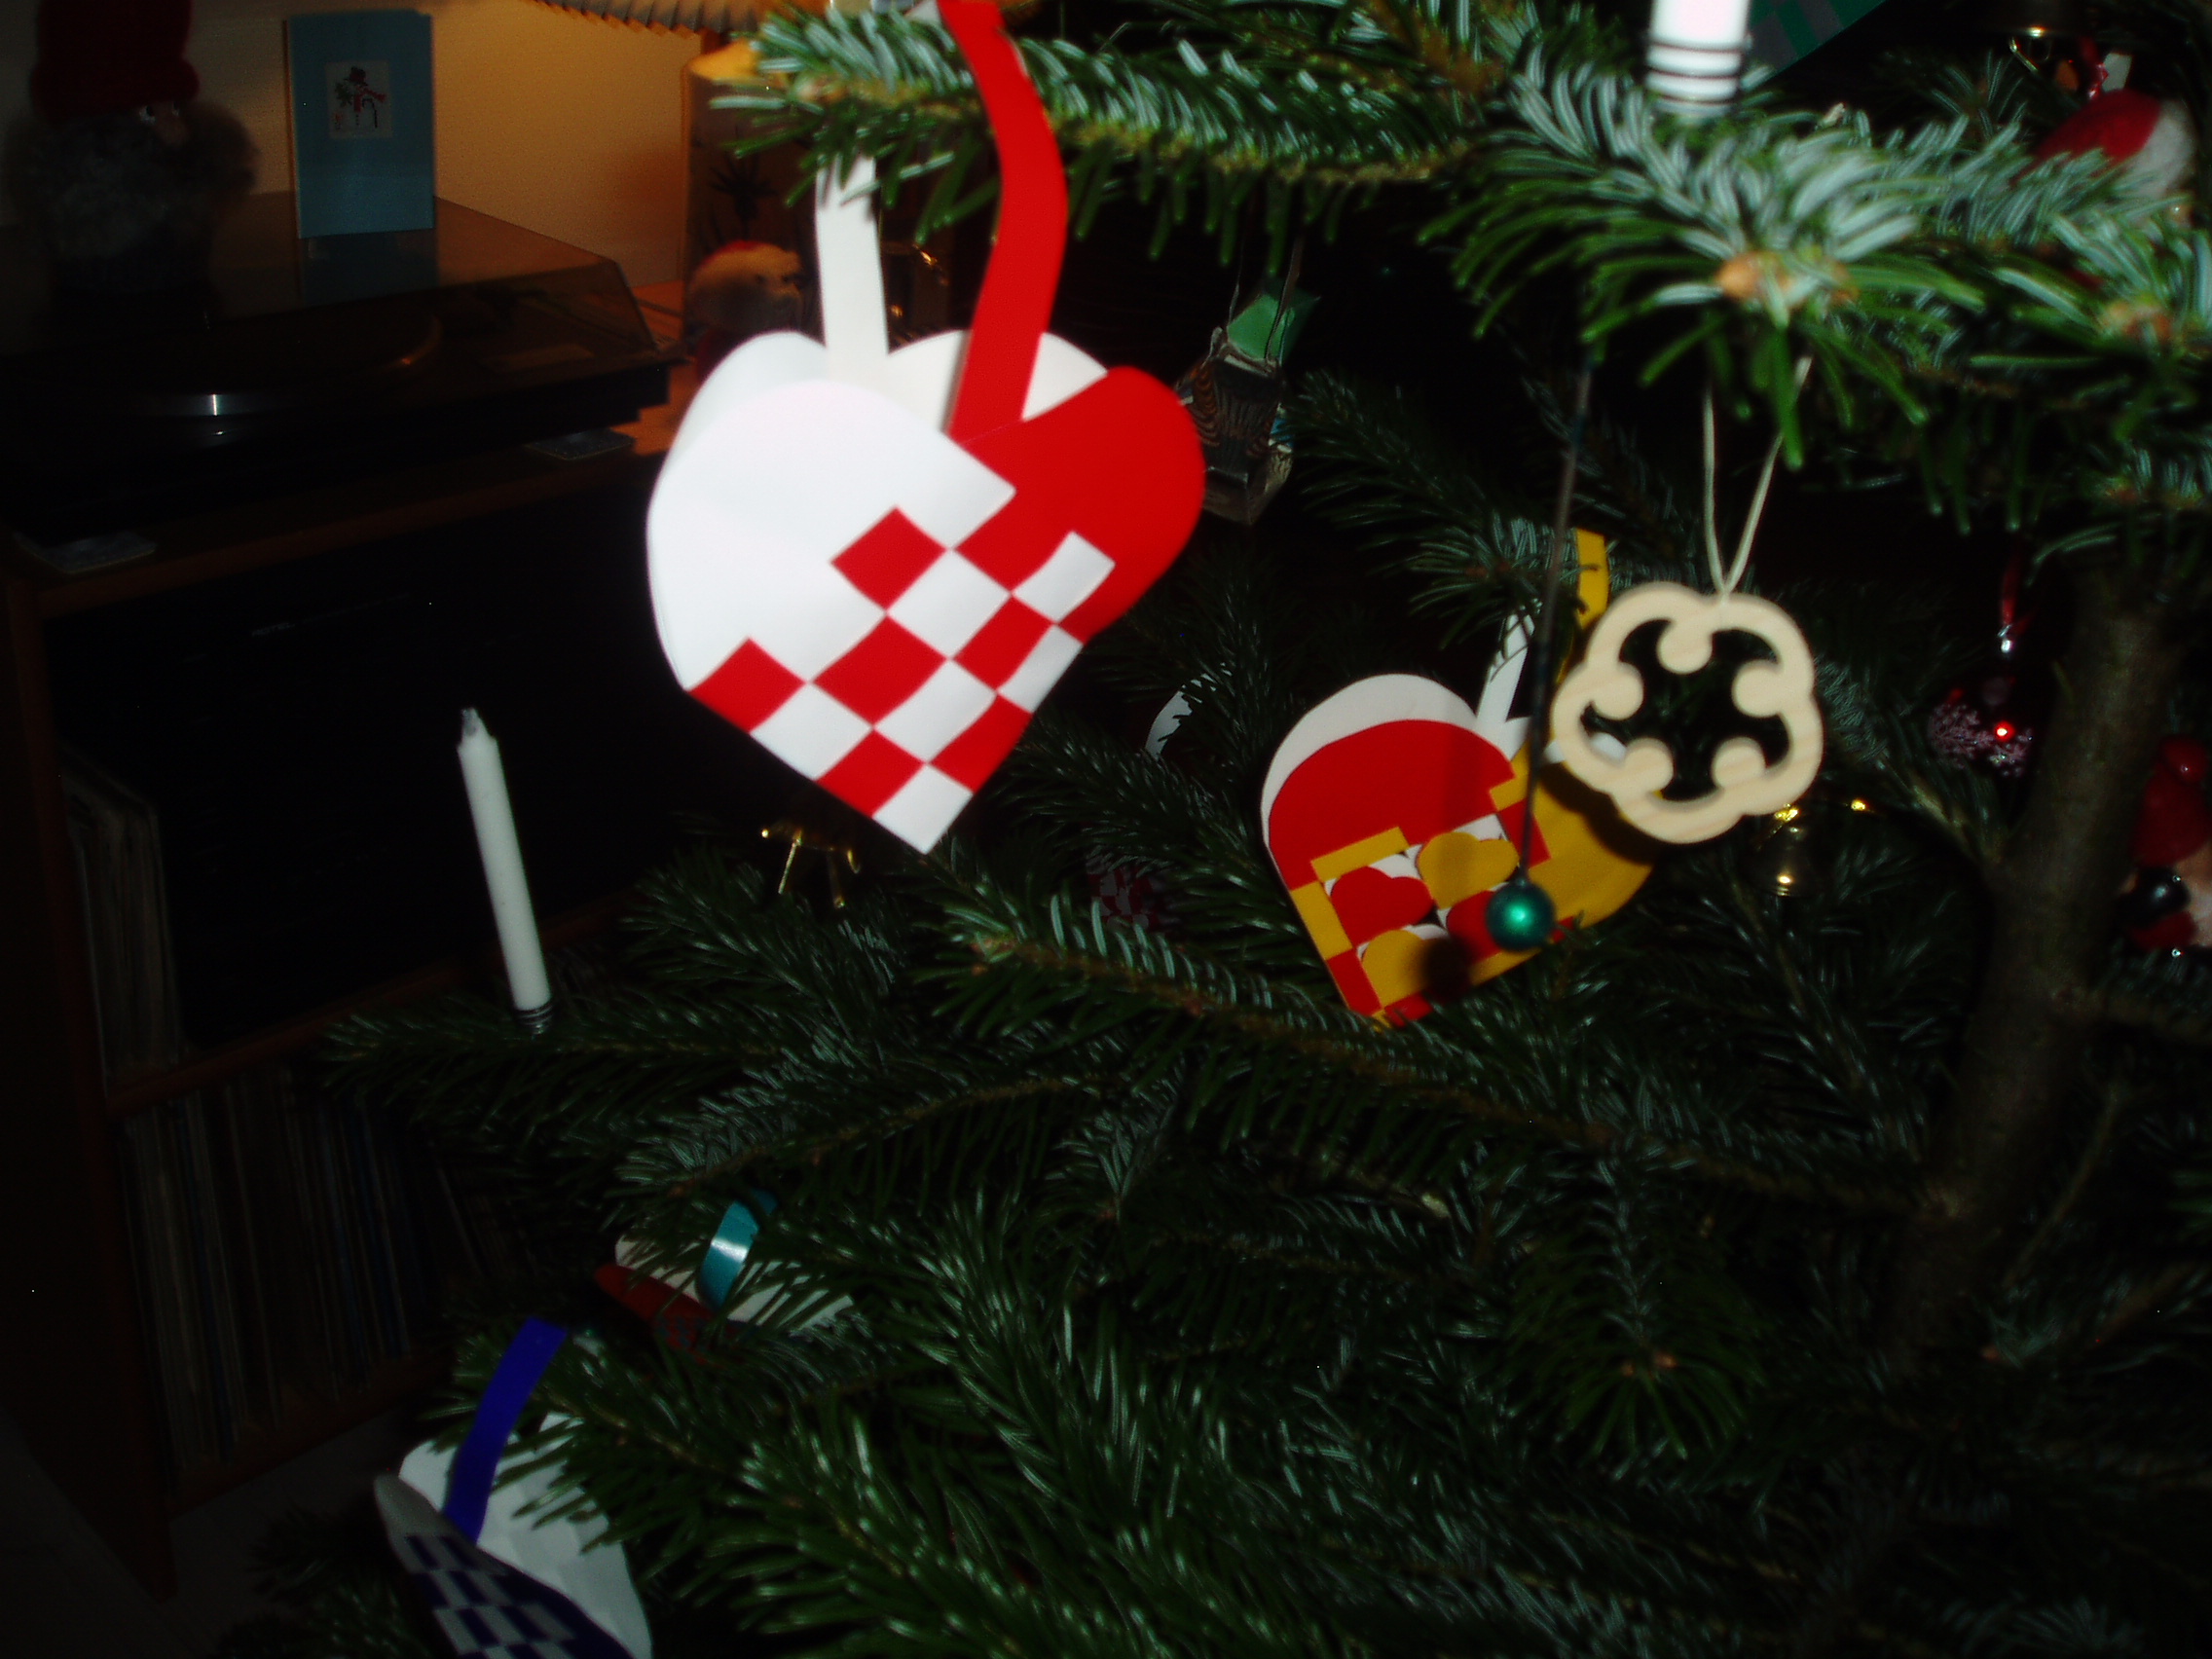
Your julehjerte (Christmas heart) is now ready.
GLÆDELIG JUL!